


Rain Barrel Follow-up
2,500 gallons of free water this summer.

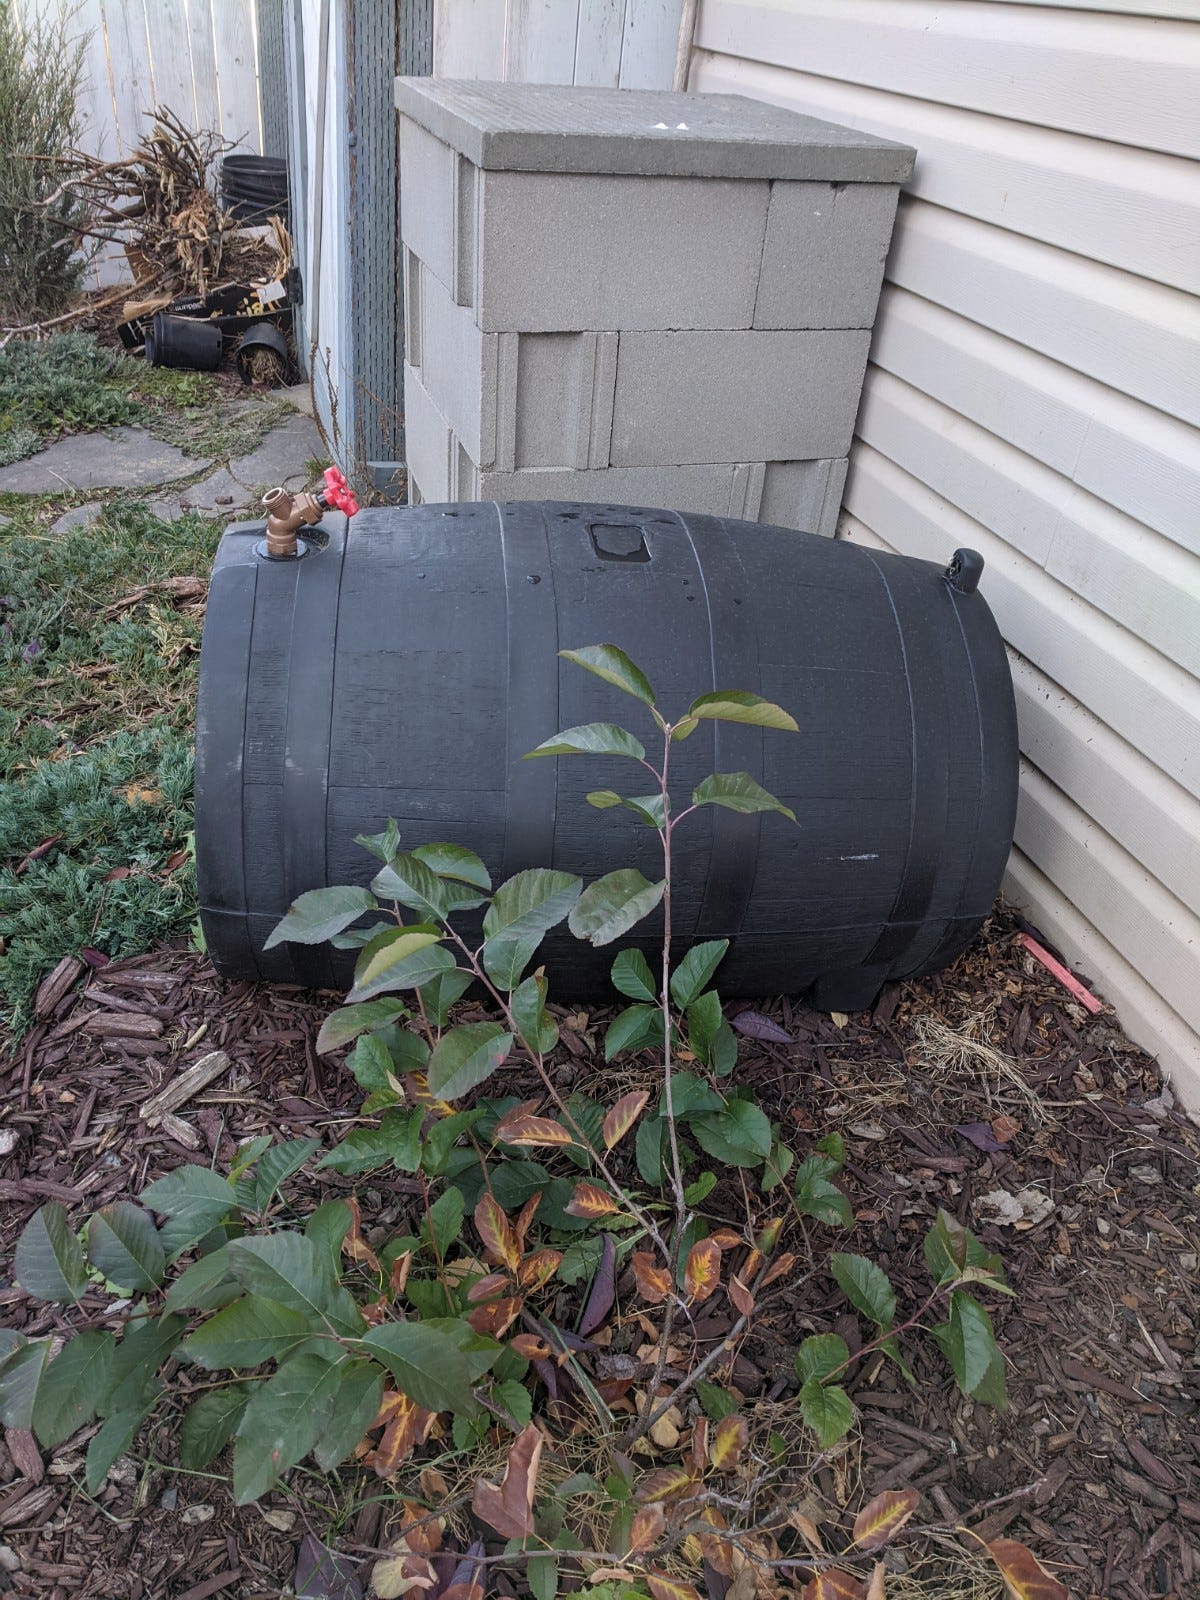
The season is over. I recently took down my rain barrels and put everything away for the winter. Time to reflect and review.
Overall: Great
Overall: I am very happy with this setup. Over the summer I was able to capture between 2,000 to 3,000 gallons of free rain falling from the sky. This was quite useful. I planted seven more perennial fruit trees this year, and I was able to water all of our trees almost entirely from the rain barrels. There were only a few days during a very hot, dry spell where I had to use irrigation.
In total this only meant about $30 of water if I had to pay for it at a meter. Depending where you live in the world - 2,500 gallons of tap water could cost you anywhere from $10 to $70. But I am very happy to be able to have some water in reserve and improve my drought tolerance. Rain barrels, combined with replacing some grass with microclover, should mean we use much less water and stay greener during drought.
Lessons Learned
*Really* make sure your connector hose is attached to the barrel *below* the highest water line. On one barrel I drilled into the side a bit too high. This was the first one I set up, and I was still learning. You really do want to make sure the connector hose will attach _below the highest water line_. My rain barrel model has a ‘bonus’ hole in the top front. I thought my measurements were correct to place this. However, once installed it quickly became obvious that the downspout was attached above this line, rather than below. When it rained, water would spew out the front of the barrel, as water always exits at the lowest point. Not what you want. I had to drain the barrel, disassemble the base, add extra sand underneath to raise it up, and then re-assemble.
Long connector hoses sag.
One of my barrels is set up at nearly the maximum of three feet away from the downspout. During heavy rain, and once the barrel has filled with water, the connector hose sags:

This likely prevents it from working well.
Taking inventory of materials I had, I created a very hacky fix for this using a chunk of wooden dowel rod, and some velcro cord straps:

Normally these are used to wrap and contain electrical cords – e.g. inside your house. I was able to fix the hose and keep it flat and level. This hack seems to have held up fine in summer weather. I took it down and stored it in the garage for the winter.
Faster draining spigot. For next year I really want to find a tap that will drain water faster. I spent a lot of time this year waiting for water to slowly fill buckets. Not a great use of my time. One barrel is raised up higher - four blocks high instead of two - and this helped, but it’s still too slow to be productive. Spending a few dollars on a faster tap would make me a lot happier and more effective.
Cleaning Up
The water in the bottom of the barrels was full of gunk:

You definitely want to spray the inside with a hose before storing, and/or in the spring before you set them up again. I have asphalt shingle roofing, so this is likely to be expected.
Ready For Next Year
Overall - very happy with this setup! Now the rain barrels can continue earning back their ROI and keep our trees and plants happy. Success!
References
Water costs:
Many sources will give you cost for average utilities, but it is difficult to find an actual cost per gallon or per litre